
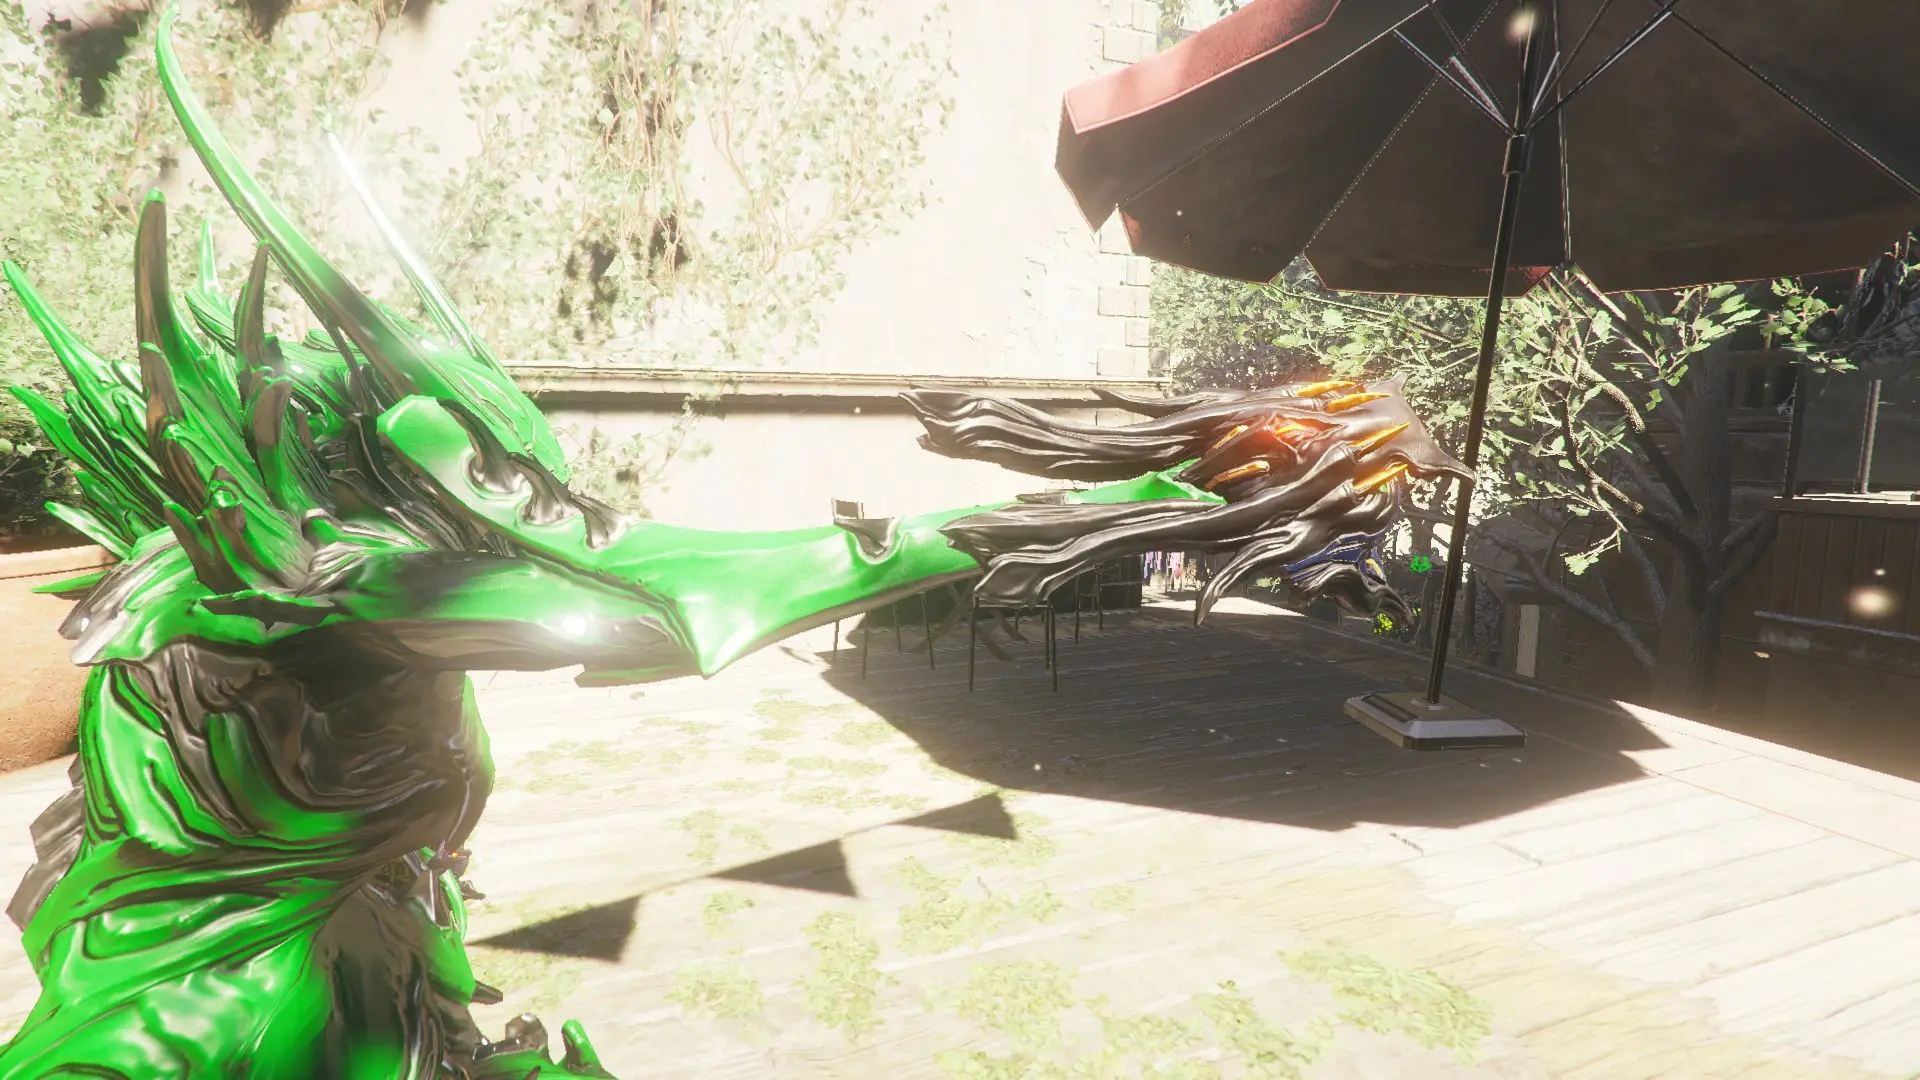
(Image: Digital Extremes / Andrew Oli)
Just a gamer that graduated from California State University of San Marcos with a BA degree who majored in Literature & Writing. I wanted to se... Read more
Reviewed by Benjamin Barr
Surfs up, Tenno. In this guide, we’ll be discussing how to get Yareli and the best build for Yareli in Warframe right now. Aside from her amazing water lady aesthetic, Yareli is a rather unique Warframe because of how flexible her base kit and augments allow her to be when it comes to builds. To avoid confusion, we can just say that she has the potential to be both offensive and defensive while still having the option to specialize in one or the other depending on personal preference.
The more offensive parts of her kit heavily support and encourage the use of secondary weapons over other kinds of weapons. The defensive parts of her kit revolve around her living hoverboard creature called Merulina that will provide damage reduction and redirection while riding on it. And just like flowing water, this Warframe doesn’t stop moving. Sounds like fun? That’s because it is.
“Do you dream of water, Tenno?” -Lotus


Yareli Base Stats
Here are Yareli’s base stats.
- Health: 100 (300 at rank 30)
- Shields: 150 (450 at rank 30)
- Armor: 100
- Energy: 200 (300 at rank 30)
- Sprint Speed: 1
Yareli Abilities Overview
Let’s take a closer look at Yareli’s abilities.
Passive
Yareli gains +200% Critical Chance for Secondary weapons when she has been moving for at least 1.5s.

Sea Snares (1st Ability)
Form three water globules that seek out enemies and expand on contact, simultaneously damaging and immobilizing their victims.

| Spec | Stats |
|---|---|
| Strength | 100/150/200/250 (cold damage per second) 50/75/100/125 (cold damage increase per second) 125/150/175/200 (damage vulnerability) |
| Drain | 25 |
| Duration | 6/8/10/12s (ensnare duration) |
| Range | 15/20/25/30m (seek range) |
| Misc. | 5 globules per cast globules last 20 seconds 10m target radius for globules |
Since its rework, Sea Snares has been seeing a lot more use in higher level missions just due to how much more of an impact the vulnerability debuff adds. On top of the vulnerability, the main use of the skill itself is the decently long 12 second crowd control which should provide more than enough time to deal with the trapped enemies. However the best part of this ability is the interaction it has with Merulina because enemies killed while affected by Sea Snares will both heal Merulina and provide fire rate and reload speed to secondary weapons with the Merulina Guardian augment. That being said, you’ll always be wanting to use Sea Snares to upkeep both your buffs and Merulina.
Merulina (2nd Ability)
Summon Merulina, a rideable creature of the waves, and the inspiration for K-Driving. Merulina protects Yareli by absorbing a large portion of incoming damage.

| Spec | Stats |
|---|---|
| Strength | NA |
| Drain | 25 |
| Range | NA |
| Misc. | Restricted to using secondary weapons only while riding Ragdoll immunity Stagger/Knockdown resistance 1.5s of invincibility frames while mounting/dismounting |
Merulina is Yareli’s signature ability and probably one of the most unique abilities in the whole game. Yareli calls upon Merulina for mounted combat but in doing so, can only use secondary weapons. This is a pretty fair trade considering she is immune to ragdoll effects and resists most instances of knockdown and stagger. Mounting and dismounting Merulina is also extremely safe and efficient as Yareli gets 1.5 seconds of iframes (invincibility frames) during the mounting and dismounting animations. While mounted, 90% of damage taken is redirected to Merulina who has their own health pool that maxes at 7,500 and can only be healed when enemies die while affected by Yareli’s Sea Snares (ability 1) while using the Mirulina Guardian augment. This all makes for a generally fun and safe mounted combat gameplay experience while still being able to make use of the secondary weapon.
Aquablades (3rd Ability)
Tear through foes with a trio of orbiting aquatic blades.

| Spec | Stats |
|---|---|
| Strength | 350/450/600/750 (slash damage) |
| Drain | 75 energy |
| Duration | 25/30/35/45 seconds |
| Range | N/A |
| Misc | 3 blades 5 meter radius 3 hits per 0.5 seconds 100% slash proc chance Guaranteed stagger on hit |
While you can make builds catered toward Aquablades, they don’t usually tend to offer nearly as much value in higher level content. Even though the damage isn’t usually anything spectacular unless specifically built for using them for damage, they still provide the stagger. Using this ability more as a mass crowd control than a source of damage will usually net more value overall against higher level content enemies.
Riptide (4th Ability)
Drag enemies into a crushing maelstrom and then blow them away in a watery burst. Each enemy trapped in the vortex increases the burst’s Damage.

| Spec | Stats |
|---|---|
| Strength | 200/300/400/500 (cold damage per tick |
| Drain | 100 energy |
| Duration | 10s duration max depending on ability duration stat |
| Range | 25/30/35/40 cast range |
| Misc. | Ragdoll during suction Knockdown during burst explosion |
Ragdoll is usually seen being used in synergy with Sea Snares for easy crowd control and can even be cast while riding on Merulina. It’s worth noting that Riptide can be manually detonated before the duration is over by holding down the ability key (default 4) or else it will automatically detonate at the end of the suction. This is really the only ability that determines whether you would want to have a positive duration or a negative duration build for your Yareli and is completely personal preference. Positive duration would require manual detonation while negative duration can just wait out the suction since it won’t last too long.
How to Get Yareli

Protea’s main blueprint can be instantly obtained upon completion of The Waverider quest. The blueprint for the component parts (neuroptics, chassis, and systems) can be acquired through the Clan Dojo in the Ventkids’ Bash Lab.
Alternatively if you’re strapped for time, you can just outright buy Yareli from the Market for 325 Platinum.
Best Yareli Build – General Meta Example (4 Forma)

Yareli’s kit does an amazing job at keeping her alive through the combined use of crowd control and her little ocean friend Merulina while still being able to output a considerable amount of damage by buffing her secondary weapon. While this does limit her damage sources to mainly just a secondary weapon, this proves to be more than enough to mow down enemies in late game and even high level Steel Path missions. The main focus of the build is to use the augment mod for Merulina (ability 2) to make both Merulina and Yareli virtually unkillable. You would think this sacrifices any ounce of offensive capability but you would be wrong as a single secondary weapon is all this surfer needs. The only real drawback of this build is that it solely relies on Merulina to be able to survive at all, which may not be an ideal playstyle for some people. Other than that, this build covers both offensive and defensive capabilities with ease.
This build focuses around the Merulina Guardian augment to both heal Merulina and buff Yareli when enemies die in a Sea Snare (abiltiy 1). Because we like to use Gloom as the infused Helminth ability in place of Aquablades (ability 3), we take Combat Discipline in the aura slot to bypass the healing from Gloom and ensure that we get the heal and buffs from Merulina Guardian when Merulina self-heals via enemies dying in Sea Snares. Gloom isn’t completely necessary and can be subbed out for a different infused Helminth ability or just left as is. In this case, there is no need for Combat Discipline at all and can be swapped out for a different aura mod.
Arcanes
- Molt Augmented – More ability strength not only means more health for Merulina, but it also helps with the Gloom slow effect if you decide to take it.
- Arcane Guardian – Just something to add a little more tankiness (not that she needs it). Can be replaced with another Molt arcane for even more ability strength.
Mod Choice Explanation
- Combat Discipline – Used with Gloom builds to bypass the issue of Gloom heal negating the effects of Merulina Guardian. Can be replaced with Growing Power or Pistol Amp if you’re not using Gloom.
- Primed Sure-Footed – Since Yareli isn’t fully immune to knockdowns while riding Merulina, this is more of a safety net. Can be replaced with Handspring.
- Archon Intensify – The ability strength effect can trigger from Merulina Guardian heal which just means more strength for free!
- Merulina Guardian – Main star of this build that helps Merulina survive while buffing Yareli’s secondary.
- Equilibrium – More than enough to sustain energy to cast abilities.
- Adaptation – Added comfort tankiness.
- Vitality/Stretch/Fleeting Expertise/Streamline – Stats
Weapon Choices
- Tenet Plinx – A very popular secondary and probably the best to use for Yareli in general is the Tenet Plinx. Normally it requires a very long charge time before shooting but with Yareli’s buffs, this little guy is turned into a quite literal hand cannon with the alternate fire. The most desirable element progenitor is electricity due to how it affects ragdolled enemies with multiple body parts.
- Sporelacer – High critical chance and explosions, what else could you ask for? This kitgun build is great for clearing out mobs of enemies which makes it prime for Yareli’s kit that buffs it to seemingly astronomical heights.
- Otherwise any powerful secondary with a lot of multishot, punch thru, or area of effect damage will suffice as you will mostly be shooting it into a group of clumped up enemies from Riptide (ability 4).
Helminth Abilities
Yareli’s Aquablades (ability 3) is probably the only real candidate to swap out for an infused Helminth ability due to how little we really need to rely on it for damage. Despite that, there is really only one fitting option that works with Yareli’s kit since she can’t use Helminth abilities while riding Merulina.
- Gloom (Sevagoth) – Since it’s a toggle skill, it can be activated before getting on Merulina and is also the reason to take the Combat Discipline mod in the aura slot. Otherwise you won’t be getting the Merulina heal or buffs for secondary weapons.
- The interaction works by Yareli killing an enemy in Sea Snares and is healed by Gloom but also takes damage from Combat Discipline. Merulina Guardian redirects 9 of the 10 damage from Combat Discipline and thus procs the 25% heal for Merulina and the buffs for secondary.
Join the High Ground
Hopefully our guide helped you better understand and build Yareli in Warframe! She truly is a unique Warframe that requires you to adapt to mounted combat for this version of the meta build. But it’s definitely worth it when you’re able to tear past Steel Path with no issues at all! If you have any build tweaks or suggestions feel free to throw them in the comments!
Subscribe to the High Ground for the latest news, guides, and articles on all things gaming. Until next time, traveler.
Warframe Navigation
- Warframe: Best Scyotid Build – Melting Web Bomb
- Warframe: 8-Legged Freak – Best Oraxia Build
- Warframe 1999: The Best EFV-8 MARS Build – Viral MARS of War
- Warframe 1999: The Best Riot-848 Build – Exploding Virus
- Warframe 1999: The Best Dual Viciss Builds
- Warframe 1999: The Best Temple Build — Caustic Chords
- Warframe 1999: Atomic Tank – The Best Nova Prime Build
- Warframe 1999: Infection Melter – The Best EFV-5 Jupiter Build
- Warframe: The Toxic Weapon – Best Saryn Prime Build
- Warframe: Best Revived War Build
- Warframe: Iron Staff Master – Best Wukong Prime Build
- Warframe: The Toxic Ricochet – Best Dual Toxocyst Build
- Warframe: The Best Broken War Build – Stalker’s Bane
- Warframe: Immortal Infestation Nidus Build
- Warframe 1999: The Best Vesper 77 Build
- Warframe 1999: The Best Reconifex Build
- Warframe 1999: Best AX-52 Builds
- Warframe 1999: The Best Unkillable Combat Medic Trinity Rework Build
- Warframe 1999: The Best Neutralizer Cyte-09 Build
- Warframe 1999: Invulnerable Psychic Nyx Rework Best Build
- Warframe: The Best Regulators Mesa Prime Build
- Ghost Sniper Cyte-09 Build in Warframe 1999
- Warframe: The Best Melee Warframes in 2025
- Warframe: The Best Warframes for Steel Path
- Warframe: Excalibur Umbra Build Guide (2025)
- Warframe: Faceless Horror Dagath Build (2025)
- Warframe: Profit-Taker Mausolon Build
- The Best Subsume Abilities in Warframe
- The Best Vulpaphyla in Warframe
- Warframe: Eidolon Hunter Volt Build
- Warframe: Electric Vortex Gyre Build
- Warframe: Bonecrushing Mag Build
- Warframe: Viral Slash Soma Build
- Warframe: Melee Hunter Voruna Build
- Warframe Rhino Prime Build
- Warframe: Undying Nekros Prime Build
- Warframe: Endless Hysteria Valkyr Prime Build
- The Best Warframes for Beginners
- The Best Sevagoth Build in Warframe
- Warframe – Caliban Guide (Best Build, How to Play, Tips)
- Warframe Guide: The Best Yareli Build
- The Best Protea and Protea Prime Builds in Warframe
- The Best Gauss Build in Warframe
- Warframe Wisp Guide: Abilities, How to Get, and Best Build
- Warframe 1999: Best New Arcanes and How To Get Them
- The Best Warframes for Focus Farming
- The Best Missions For Leveling in Warframe
- Warframe: The Best Warframes For Farming
- Best Syndicates to Join in Warframe
- Best Ways to Gain Affinity in Warframe
- Warframe: Helminth System Guide
- Warframe: What is Operator Mode and How to Use It
- How to Get Platinum in Warframe – Best Methods & Tricks
- The Best Methods to Credit Farm in Warframe
- Warframe: Hidden Messages Quest Walkthrough
- The Best Companions in Warframe
- The Best Arcanes in Warframe
- A Beginner’s Guide to Warframe Mods
- Warframe 1999: Best New Mods and How to Get Them
- Best Prime Mods in Warframe
- Best Augment Mods in Warframe
- How to Get Gladiator Mods in Warframe
- How to Get Umbra Mods in Warframe
- How to Get Necramech Mods in Warframe
- How to Get Corrupted Mods in Warframe
- How to Get Bond Mods in Warframe
- How to Get Archon Mods in Warframe
- How to Get Tome Mods in Warframe
- How to Get Galvanized Mods in Warframe
- A Beginner’s Guide to Warframe Mods
- The Best Predasite in Warframe
- The Best Archguns in Warframe
- The Best Vulpaphyla in Warframe
- The Best Operator Arcanes in Warframe
- The Best Tenet Weapons in Warframe
- Warframe: The 5 Best Incarnon Weapons, Ranked
- Best Early Game Weapons in Warframe
- The 5 Best Bows in Warframe
- Best Melee Throwing Weapons in Warframe
- The 5 Best Sniper Rifles in Warframe
- The Best Primary Weapons in Warframe
- The 5 Best Melee Weapons in Warframe
- The Best Secondary Weapons in Warframe
- The Best Zaw Builds in Warframe
- The Best Kuva Weapons in Warframe
- The Best Amps in Warframe


You must sign in to comment.
Don't have an account? Sign up here!