In Final Fantasy XIV, the people of Eorzea celebrate the Warrior of Light, but some would argue they ask too much of their hero. Perhaps it’s time to walk a different path. Perhaps it’s time to embrace darkness and stare deep into the abyss. In this FFXIV Dark Knight guide, we’ll cover the basics of tanking, ideal rotation strategies, and how to best play Dark Knight in different kinds of content.
Dark Knights wield the merciless power of their inner darkness and mercilessly slay their foes with a massive greatsword. This job takes your Warrior of Light on an introspective journey, lending an appropriate narrative touch when played during the Shadowbringers expansion (for which it was the poster boy).
The Dark Knight job becomes available once you reach the Heavensward expansion and access the city of Ishgard. The job starts at Level 30, and you can unlock it by completing the “Our End” quest offered by an Ishgardian Citizen in the Pillars.
Let’s get started!
Tanking Role Basics

The Dark Knight is one of FFXIV’s four tank jobs. The overall role of a tank is to generate enmity (commonly known as “aggro”) in order to keep all enemies targeting you. It’s your job to lead your party through dungeons, pulling enemies and initiating fights.
Tanking requires you to know your content fairly well, but this is more important for trials and raids than dungeons. By the time you can tank high-level content, you’ll have a better understanding of what you’re doing. Being adequately prepared is important, as other players in your party will often look to you for help.
Dark Knights bring a pretty diverse toolkit to the party — lots of AoE attacks, plenty of resources to manage, and a fair amount of party defense. At Level 80, Dark Knights are effective for both dealing damage and defending against it, so paying attention to enemy casts becomes important in high-level content. Don’t forget to help your healers out by popping those shields and debuffs when you can!
Dark Knight Tank Stance
The Dark Knight’s tank stance is called Grit (LVL 10). Turning this on draws aggro from enemies and places you at the top of their enmity list. Whenever you enter a dungeon, make sure you have this stance turned on! If it’s off, you won’t hold enemy aggro (and one or more of your party members will probably yell at you).
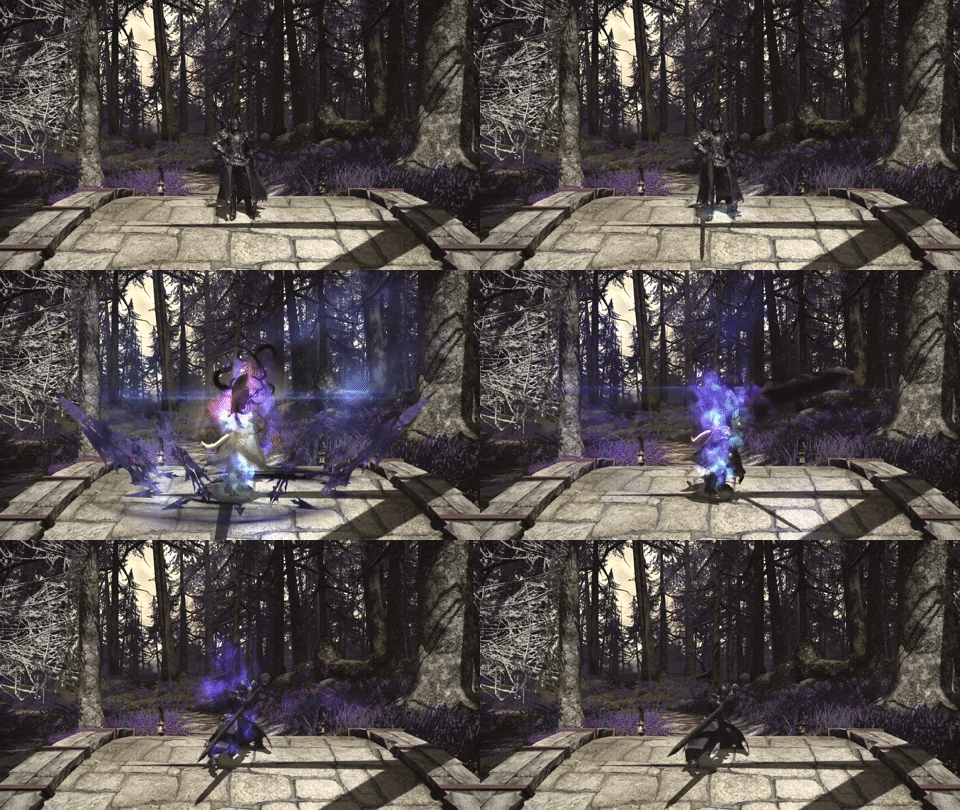
In eight-man trials and raids, the main tank should always turn on their tank stance first. Whether or not the off-tank turns on their stance depends largely on the fight’s mechanics — study up before you queue for any trials or raids as a tank.
In general, if there’s only one boss, only the main tank should be drawing aggro. Otherwise, multiple tanks will be fighting for the boss’s attention, spinning it around and making it harder for DPS players to hit their positionals. If there’s more than one boss (or lots of adds), the off-tank should turn on their tank stance to grab them and prevent one tank from taking too much damage.
Dark Knight Job Resources
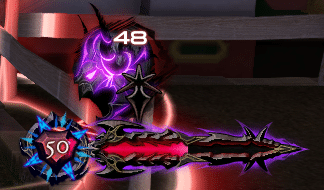
Dark Knights in particular have a lot of resources to manage during combat. You’ll need to track your MP, your Darkside, your Blackblood, and your Dark Arts. Thankfully, all of these elements are unlocked over time, so you can get used to each of them and learn how they play into each other before having to manage them all at once.
If you’ve played a caster before, you’ll be familiar with the MP Gauge that lives beside your HP bar. MP (magic points) is used for three different Dark Knight abilities, and you have several other abilities that can replenish it. Most of them are attacks, so you’ll refill this naturally and pretty quickly during combat.
Your Darkside Gauge looks like a helmet and is activated and extended by using Flood of Darkness or Edge of Darkness (which evolve into Flood of Shadow and Edge of Shadow at Level 74). Darkside increases your damage dealt, and the gauge will display a timer to show how long you’re under its effects. This timer can be increased to a max of sixty seconds. If you keep using Flood and Edge abilities, it will stay active as long as you are in combat.
Your Blood Gauge (which tracks your Blackblood) looks like a sword and is also filled by using a handful of different abilities. Like the MP Gauge, a lot of these abilities are attacks — execute an attack as soon as you’ve filled the gauge enough to do so, and it’ll replenish quickly.
Dark Arts are reflected by a small sword icon on top of the Darkside Gauge. It will light up when the shield produced by the ability The Blackest Night breaks, allowing you to cast Flood of Darkness/Shadow or Edge of Darkness/Shadow without using MP.
Tank Role Abilities

Dark Knight gets all of the typical tank role skills. Rampart (LVL 8) reduces damage taken by 20%, and Reprisal (LVL 22) places a debuff on enemies that reduces their damage dealt by 10%.
Low Blow (LVL 12) stuns a target, and Interject (LVL 18) interrupts a target’s action. Interject can also be used on enemy abilities that have a flashing red cast bar. Arm’s Length (LVL 32) prevents you from being knocked back or drawn in by enemy abilities, but keep in mind that it doesn’t work on all of them.
Provoke (LVL 15) puts you at the top of a target’s enmity list; in other words, this is an aggro-grabber. Shirk (LVL 48) diverts 25% of enmity to another party member, and is primarily used for tank swaps in trials and other high-level content where there’s more than one tank.
Damage Mitigation
In addition to the damage mitigation abilities that all tanks have access to, Dark Knights have their own options, the first of which is picked up at Level 38. Shadow Wall is essentially a stronger version of Rampart, reducing damage taken by 30% instead of 20%. You will want to save this for tankbusters (tank-targeting attacks that do big damage) in boss fights.
Dark Mind (LVL 45) reduces magic vulnerability by 20%, and it is an alternate mitigation skill for magic damage tankbusters. Dark Missionary (LVL 76) reduces magic damage by 10% for you and nearby party members, and is best used during AoE boss attacks.
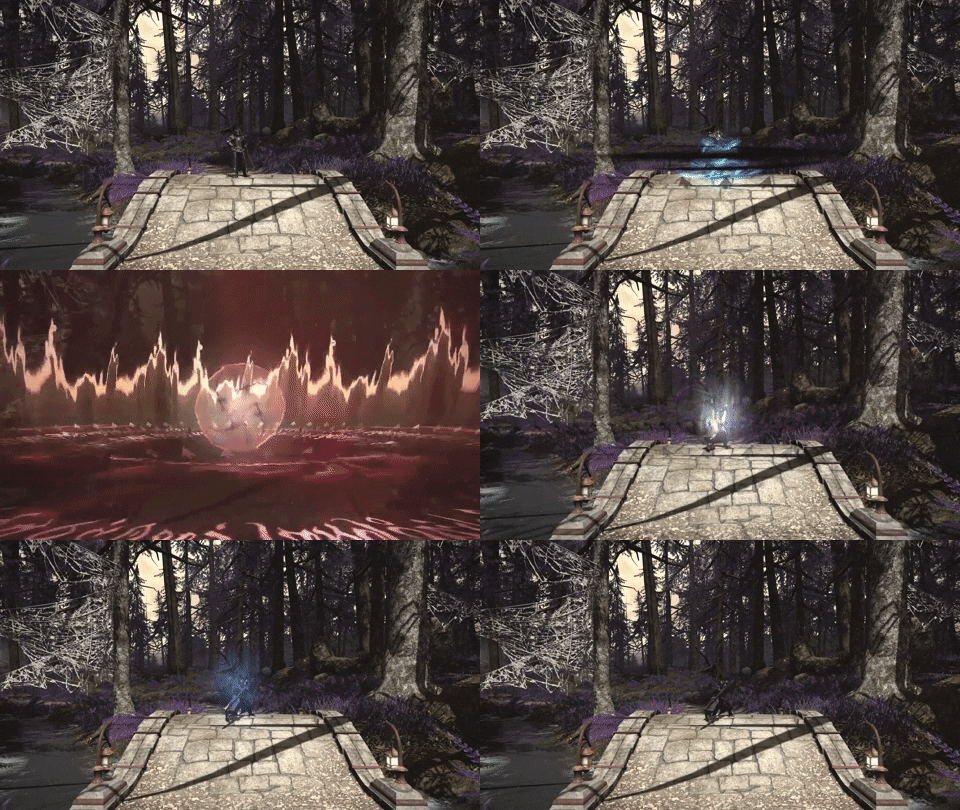
Now, FFXIV doesn’t explicitly tell you when an attack uses magic or physical damage. You’ll learn how to differentiate them in time, but a good rule of thumb is that most AoE boss attacks are magical damage. Even so, you’ll have to pick up context clues and, in some cases, become very familiar with the names of boss casts to figure this out. Don’t stress over this too much — failing to mitigate magical damage probably won’t ruin a fight unless you’re running high-end content like extreme, savage, or ultimate raids.
Last but not least is The Blackest Night (LVL 70), a shield that can be applied to yourself or another target to absorb damage totaling 25% of the target’s max HP. It has an MP cost, but comes with a handy bonus effect: when the shield breaks, it grants Dark Arts, allowing you to cast Flood of Darkness/Shadow or Edge of Darkness/Shadow for free.
Invulnerability
Each tank also gets an invuln ability for crisis situations. For Dark Knights, this is Living Dead (LVL 50). If you use Living Dead and drop to 0 HP within ten seconds, you’ll gain the Walking Dead status. With this status active, most attacks won’t lower you below 1 HP, granting you technical invulnerability.
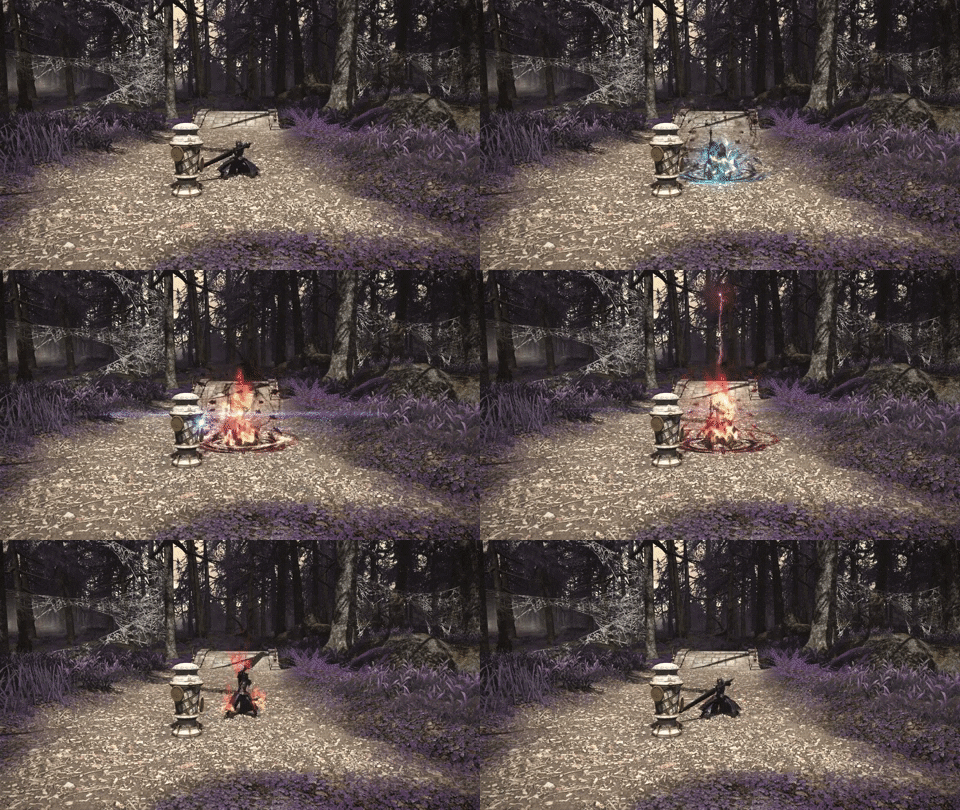
There’s a catch, though — you have to be healed to full HP within ten seconds or you’ll die. If your healer has very low MP, they won’t be able to save you. There’s also a chance your healer has no idea what this ability does (especially if you’re running lower-level content with new healers), so if you use Living Dead and die to the Walking Dead status, it could be a good idea to tell them what happened. In summary, don’t use Living Dead on a whim — it’s a risky ability and should only be used when absolutely necessary.
General Tips for Playing Dark Knight

There are a handful of things you want to keep in mind as a Dark Knight, no matter what kind of content you’re tanking.
- Never let your MP or Blood Gauge cap. If these gauges fill up, you’re wasting resources that could be increasing your DPS. Make sure you’re using the attacks that spend these respective resources whenever you have the option, as most of your other abilities will replenish them over time.
- Keep Darkside active. Using Flood of Darkness/Shadow or Edge of Darkness/Shadow will activate Darkside for thirty seconds and further use of those abilities will refresh it for sixty seconds. Darkside buffs your damage output, so it’s worth having active whenever you’re in a fight.
- Plan your mitigation use. Make sure you always have mitigation abilities to use, whether it’s for dungeon pulls or boss tankbusters. Simply put, don’t waste all your mitigation at once. Your healers will thank you for mitigating well.
- Always use The Blackest Night. Specifically, pair it with other mitigation abilities. This lessens the burden on your healer(s) and can generate free attacks for you.
- Always use Blood Weapon. After picking up this ability at Level 35, you can use it to increase your Blood Gauge and generate MP by landing weaponskills and spells. This is the primary way to refill your MP gauge in combat, so always use it whenever it comes off cooldown to keep the MP flowing.
Single-Target Rotation
We won’t cover highly optimized rotations for high-end content in this guide, but we will go over the general ideas behind the Dark Knight’s Level 80 rotation to help you understand why it works this way.
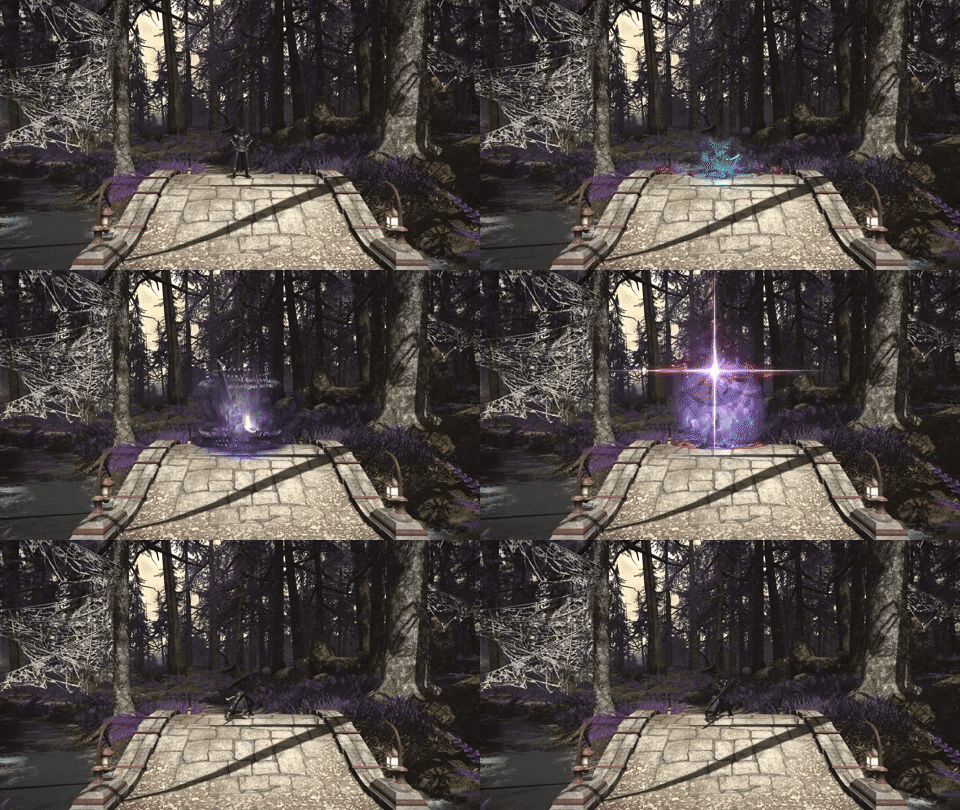
Pre-pull, you’ll want to use The Blackest Night and Blood Weapon to kickstart your resource generation. You can then begin your basic attack combo, which consists of Hard Slash (LVL 1) into Syphon Strike (LVL 2) into Souleater (LVL 26). Keep in mind that Syphon Strike restores MP, and Souleater restores HP, so your basic combo will help regenerate resources over time.
Your basic combo is comprised of Global Cooldown abilities (GCDs), meaning that they all reset at the same time. You’ll want to weave Off-Global Cooldown abilities (OGCDs) between your combo attacks, as they have recast timers that are, as the name implies, off the global cooldown timer. For Dark Knight, the first OGCD you’ll want to weave in between Hard Slash and Syphon Strike will be Edge of Darkness/Shadow in order to use up your MP so you aren’t wasting any future MP generation.
From here on out, you can continue weaving OGCDs between GCDs. When your Blood Gauge fills, prioritize the GCDs that use it — Bloodspiller (LVL 62) and Quietus (LVL 64) — over your combo until the gauge is spent.
Once you hit Level 80 and unlock Living Shadow, it’s a good idea to pop this before any other Blood Gauge ability, as it summons your Esteem to fight alongside you for twenty-four seconds.
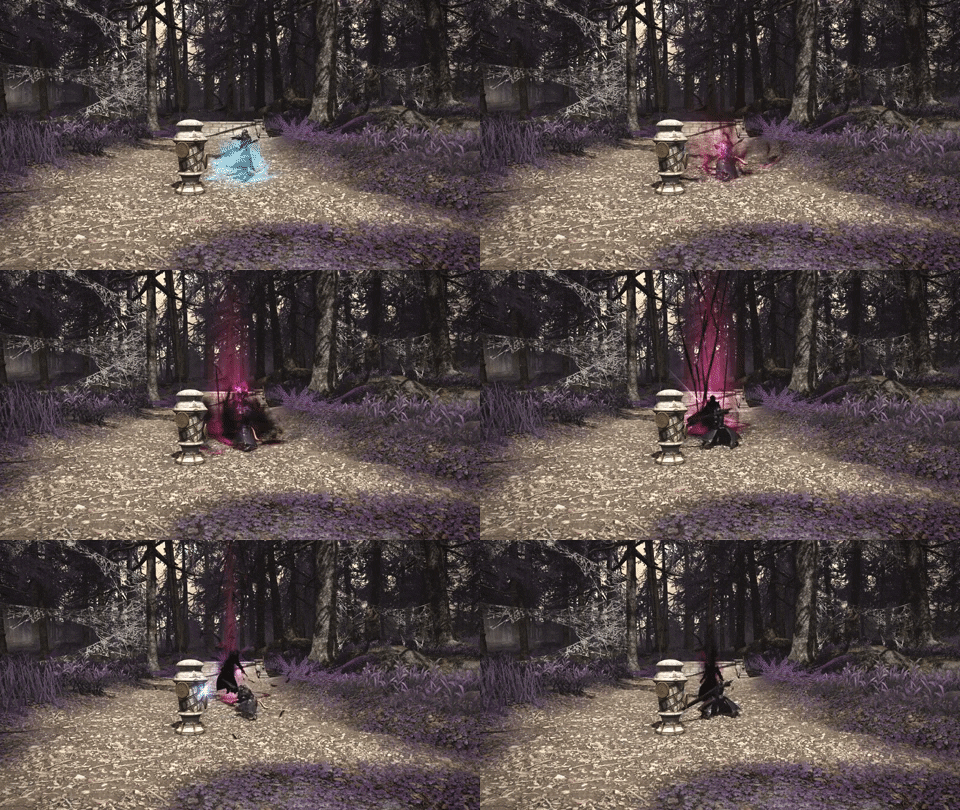
Other important OGCDs to keep in mind are: Abyssal Drain (LVL 56), which is an AoE attack that will restore your HP; Carve and Spit (LVL 60), which will restore MP; and Delirium (LVL 68), which will let you use Bloodspiller and Quietus without spending your Blood Gauge for ten seconds and restores MP whenever you land one of those attacks. You can hit Bloodspiller five times in a row during the Delirium window.
Lastly, you have two ranged attack options: Unmend (LVL 15) and Plunge (LVL 54), the latter of which is a gap closer attack. You can weave these in during your rotation if you need to, but both also have situational uses we’ll discuss later.
AoE Rotation
Dark Knight has a wealth of AoE abilities at your disposal, and all of your resource-based single target attacks have AoE counterparts. This makes it fairly easy to swap between your single target and AoE rotations.
The first AoE attack you gain (and the one you’ll use the most) is Unleash (LVL 6). This attack is a circle AoE that’s great for crowd control in dungeons, pulling nearby enemies and holding their aggro.
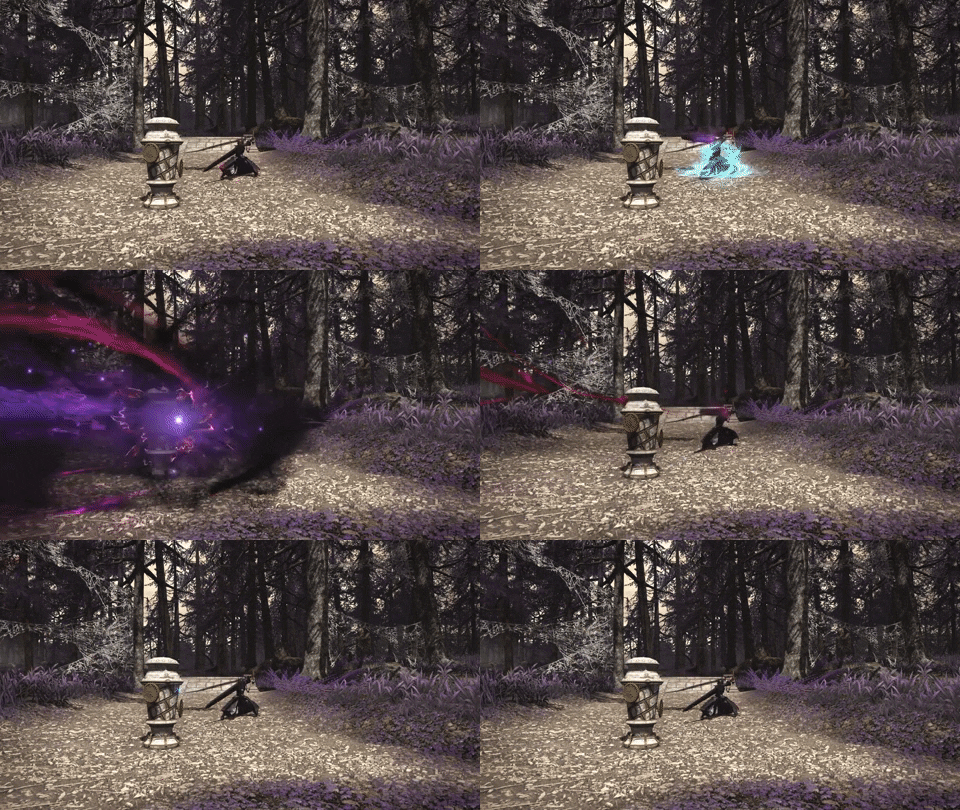
Flood of Darkness/Shadow is a straight-line AoE attack that may require some careful positioning. Running to one side of the pack of enemies and targeting the one farthest from you (within range, of course) is the best way to ensure this attack hits. However, if you’re standing in a close crowd of enemies, popping this attack in the center may hit most of them. Just make sure you aren’t facing away from the pack when you use it, as it’s easy to fire this off at one enemy and miss all of the others.
Salted Earth (LVL 52) creates a circle AoE on the ground that deals damage to any enemies who enter it and lasts for fifteen seconds. Lay this down when your party settles into a good position, and make sure you place it over any other AoEs that your party members put down. This is also a great ability to plant under bosses for extra damage.
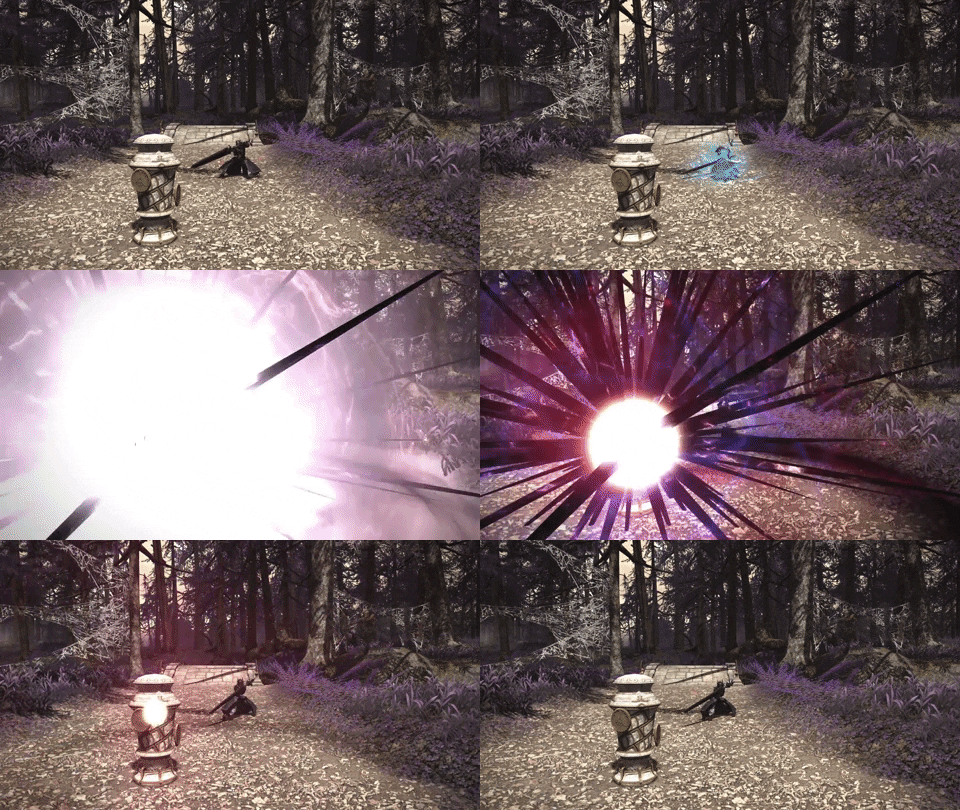
As mentioned earlier, Abyssal Drain is an AoE attack that restores your HP. When used in ideal situations with lots of enemies, this attack can restore massive amounts of HP, so try not to waste it when you have full health unless you have no other options.
Quietus is a Blood Gauge circle AoE ability that does big damage. We recommend that you only use this when handling three or more targets. Lastly, Stalwart Soul (LVL 72) combos with Unleash and restores MP.
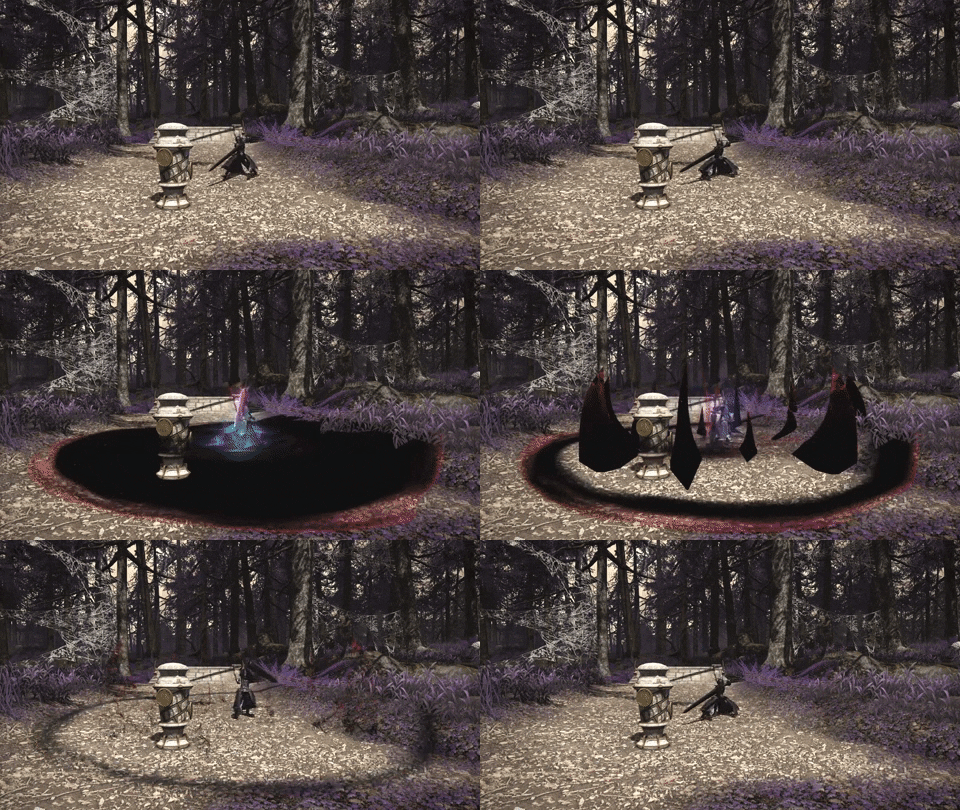
Your AoE rotation is very similar to your single-target rotation, but with the resource-based attacks swapped for their AoE versions. At low levels, you’ll spam Unleash a lot, and at high levels, you will use it to combo into Stalwart Soul, weaving Flood of Darkness/Shadow in whenever you can. If you start running low on MP, use whatever attacks you have that will regenerate it, and if Living Shadow is available, bring Esteem out to give you a hand.
Dungeon Pulls
Tanks set the pace in dungeons; don’t let your party try to tell you otherwise. It’s up to you to lead them and pull enemies as you go along. Before you do anything else, make sure you turn your tank stance (Grit) on when you enter a dungeon.

You’ll have an enemy list somewhere on your HUD that shows you if enemies are aggroing on you or not. Aggro’d enemies will have red squares, enemies that are losing aggro will be yellow triangles, and enemies that are not aggro’d on you will have blue circles. Ensure that the entire list is red at all times.
When you approach an enemy or a group of enemies, you have a few options to get their attention. If they’re at a distance, you can use Unmend to grab them and bring them towards you. Plunge will take you to the enemy instead. Unleash will hit all the enemies around you at once.
You can use any of the three to initially gain aggro on a pack of enemies depending on where they are and how you want to position them. If you want to pull an enemy to a specific spot, use Unmend over and over as you move. If you have a large group of enemies right in front of you, hit them with Unleash. If you want to cross the room and start wailing on them immediately, use Plunge.
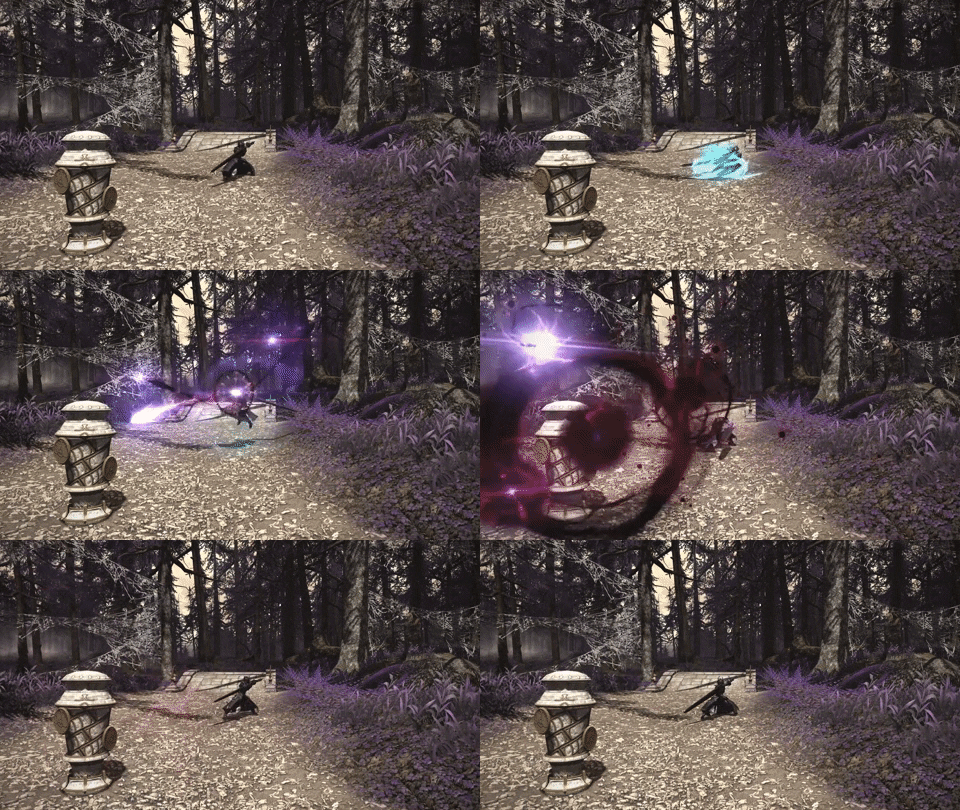
If you’re fighting a pack of enemies and you see more spawn to the side, or you see one you missed at a distance, Unmend is the best way to bring them to where you are. This also goes for pulling spawned mobs during boss fights. You usually don’t want to move and drag a boss or crowd of enemies with you to pick up one you missed.
Several groups of enemies standing close to one another is a great opportunity to spam Unleash on them while running in circles. Especially at early levels, Unleash is your best friend during dungeon pulls.
Don’t forget to mitigate during pulls! It might not be a boss fight, but you’re still taking lots of damage. Rampart is great for small pulls and Reprisal can debuff large groups of enemies. Use whatever you need to keep yourself alive.
Trials, Raids, and Dungeon Boss Fights
The single-target rotation we discussed above is your best bet for bosses in any content. Bosses are much heavier on mechanics than dungeon pulls, though, and they require some different uses of your abilities.
In terms of dodging AoE attacks, if you want to keep doing damage on the move, Unmend is your best option, though some of your other abilities have a some range to them as well. Use your best judgement when a boss is keeping you at a distance, but make sure you always have Plunge ready to go. As soon as the AoE warning disappears, you need to leap back into action. Learning boss mechanics will help you figure out how to time your gap closer, especially when you hit Level 78 and get an extra charge of Plunge.
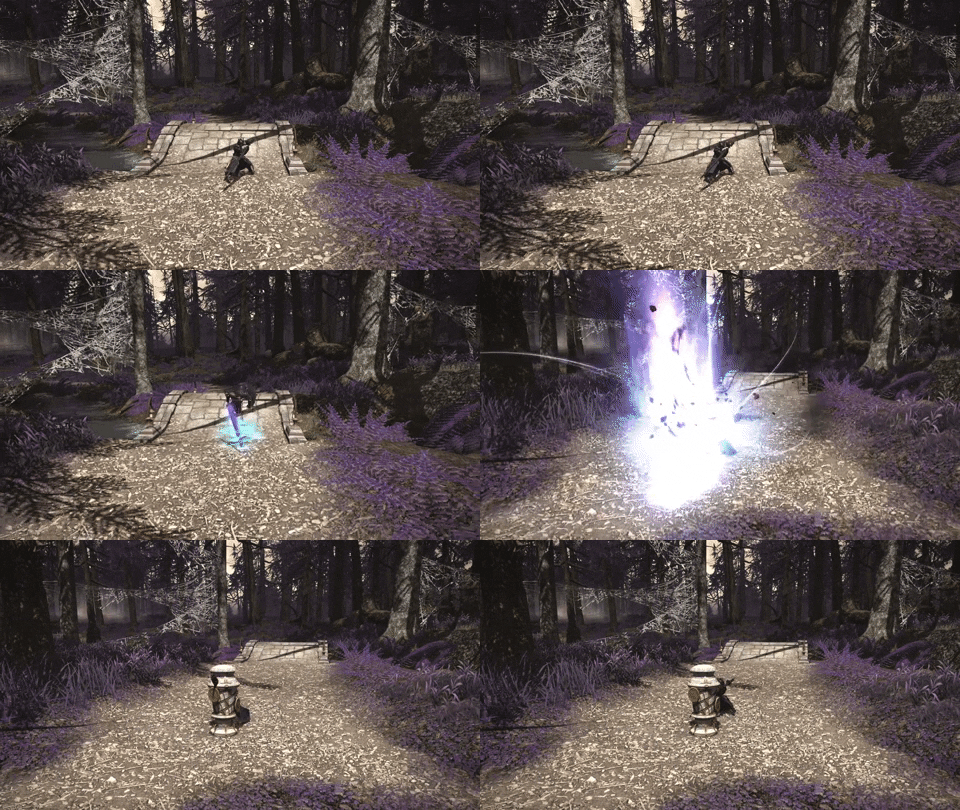
We can’t outline how to best use your mitigation skills in every single piece of content — only learning the content can help you there — but we can give you a few tips to help you out.
- If you see a cast bar, mitigate. If the boss is casting an attack and you’re the tank, it usually means you’re going to get hit (unless it’s clearly targeting someone else). Even if you just pop Rampart, you’re better off than if you had done nothing. Over time, you’ll learn boss patterns better and become more comfortable with your mitigation skills, even in new and unfamiliar content.
- Sit still and attack the boss. Find a good spot and park yourself there. Point the boss away from your party if possible. The boss is going to hit you specifically with big attacks, and some of them are going to be invisible AoEs, so you don’t want other players to get hit with damage they can’t handle.
- Dodge telegraphed AoEs and do fight mechanics. You might be the tank, but you’re not invincible. Don’t stand in telegraphed AoEs. Move away and don’t hit your party with damage if you’ve clearly been marked for an attack. Stack with players when they have stack up markers.
- Use Shadow Wall for tankbusters. If you know an attack is a tankbuster, this is your first and best line of defense. Rampart will also work in a pinch.
- Use Dark Mind for magic tankbusters. If you know a tankbuster is going to be a magical attack (for some bosses this is very obvious), pop it.
- Use Reprisal for AoE attacks. You can help out your healer(s) by taking the edge off partywide attacks if you put Reprisal on the boss before they go off.
- Use Dark Missionary for magical AoE attacks. Once again, if an attack is clearly magical and going to hit your entire party, pop Dark Missionary. If you can, you want to get as close to your party members as possible because it has a limited range, but if they’re super far away from you, don’t move the boss to get to them.
- Keep yourself alive. This is obvious, but when you’re the tank, dying can mean your whole party wiping if you aren’t revived fast enough. Aggro will go from you to the healer or DPS players while you’re dead, and they’re much squishier than you. Stay alive at all costs, even if you have to use Living Dead.
Stats and Materia Melding

Once you reach Level 80, you’ll want to start melding materia to your gear even if you aren’t gunning for Best-in-Slot items. Melding materia increases various stats, and this can be accomplished by finding Materia Melder NPCs in major cities or by requesting melds from other players who are capable of melding. If you have a crafting class at Level 19, you can complete the quest “Waking the Spirit” in Central Thanalan to learn how to meld your own materia.
For Dark Knights, you’ll want to figure out how fast you want play the job first and meld Quicktongue materia for Skill Speed to a pace that feels comfortable for you. After that, focus on stats in the following order:
- Critical Hit (Savage Aim materia)
- Direct Hit Rate (Heaven’s Eye materia)
- Determination (Savage Might materia)
- Tenacity (Battledance materia)
Melding materia is not worth it if you are not at max level. Do not worry about melding your gear until you hit this point and want to use a job in high end raiding content. If you max out your Dark Knight right before Endwalker drops, I’d suggest waiting to meld materia until you hit the new level cap.
Endwalker Changes
Speaking of Endwalker, Dark Knight won’t be seeing a ton of major changes. The expansion will be providing some cool new abilities including a new mitigation skill and a new line AoE attack. The changes to existing abilities are as follows:
- Salted Earth will no longer be a placeable AoE, and will instead drop immediately under the player. It will gain a combo action that can be used to deal additional damage.
- Abyssal Drain will now heal for a flat potency instead of a percentage of damage caused.
- Plunge will have its range increased.
- Using Unmend will decrease Plunge’s cooldown.
- Living Shadow will have the potency of its attacks increased.
- Using Delirium will now grant you 3 stacks of Delirium, meaning you can use a Blood Gauge ability three times instead of five.
Long time Dark Knight players will most likely appreciate the adjustments made to Salted Earth, but so far, there aren’t any huge changes for this job in the upcoming expansion.
Join the High Ground
That sums up our FFXIV Dark Knight guide! This is a great job for people who want to try out tanking or those who are looking to turn their Warrior of Light into a true Warrior of Darkness. Subscribe to our newsletter and follow us on social media for future updates on the many aspects of FFXIV.
Happy gaming!
Final Fantasy XIV Online Navigation
- Final Fantasy XIV Sage Guide
- Final Fantasy XIV Scholar Guide
- Final Fantasy XIV Gunbreaker Guide
- FFXIV Samurai Job Guide: Leveling, Rotation, Tips (6.x Endwalker)
- FFXIV Job Changes for Endwalker and Beyond
- FFXIV Machinist Guide (6.x)
- FFXIV Dragoon Guide (Endwalker 6.x)
- FFXIV Warrior Guide (Endwalker 6.x)
- FFXIV Leveling Guide (6.x)
- FFXIV Reaper Job Guide: Leveling and Rotation (Endwalker 6.x)
- FFXIV White Mage Job Guide: Leveling and Rotation
- FFXIV Paladin Job Guide: Leveling and Rotation
- FFXIV Monk Job Guide: Leveling and Rotation
- FFXIV Bard Guide: Sing Songs, Sling Arrows
- Final Fantasy XIV Dark Knight Guide
- FFXIV Summoner Guide: Leveling, Rotation, Tips (6.x Endwalker)


You must sign in to comment.
Don't have an account? Sign up here!