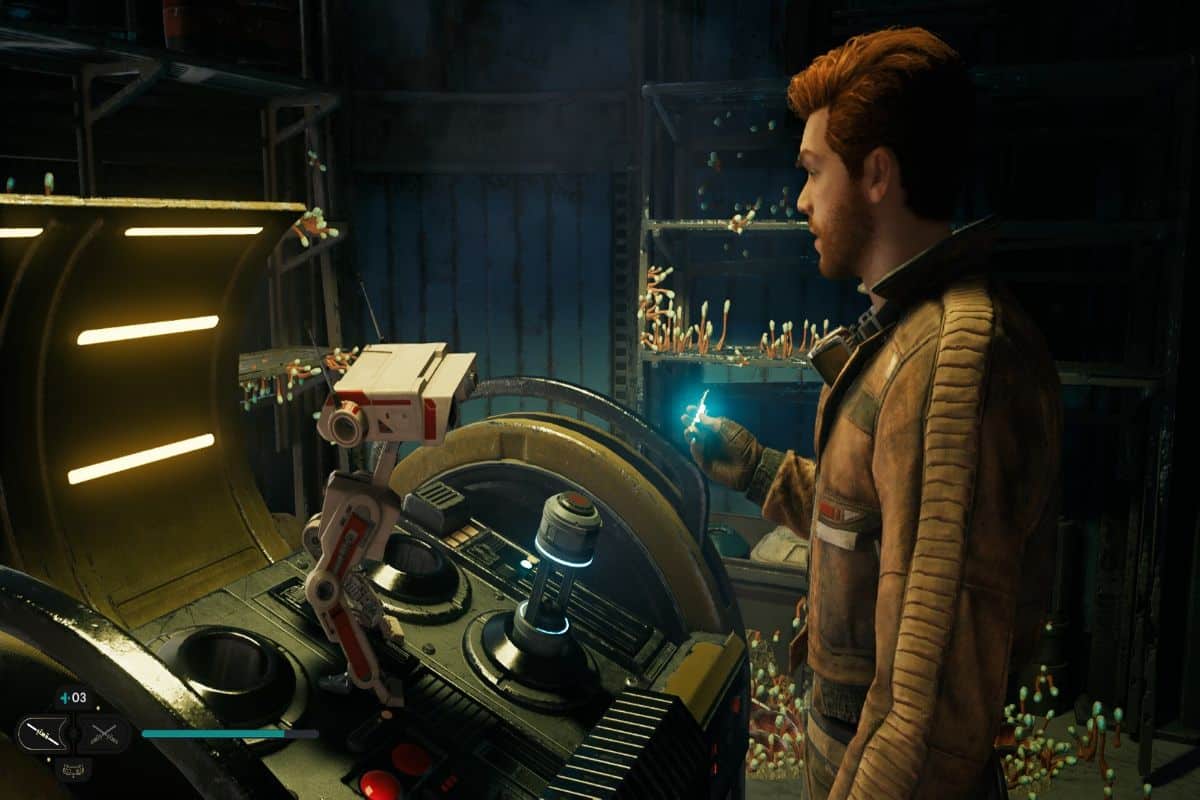
Every piece of Star Wars media highlights the Jedi’s ability to connect with their surroundings, and Jedi: Survivor is no exception. It’s no surprise that nearly everyone you encounter in Jedi: Survivor is one of many potential recruits for Greez’s cantina, Pyloon’s Saloon.
But why should you recruit them? For one, you can earn the Max Capacity achievement by recruiting every possible character in this guide. Even if achievements don’t interest you, some of these new faces can lead you to unexplored areas, unlock exclusive shops, and provide mini-games to play.
Regardless of your motive, you should feel compelled to bring these individuals away from the cold and unforgiving galaxy and into a warm, hospitable environment with alcohol to enjoy. There are plenty of characters available for recruitment, so let’s dive in and get started.
All Cantina Recruits in Jedi: Survivor
In this guide, we’ll cover each recruit in the order that they appear and become recruitable. We’ll provide information on where to find them, how to recruit them, and the rewards you can expect to unlock.
Mosey and Turgle

- First Available – During Chapter 2
- Rewards – Info on legendary enemy locations
Your first two cantina recruits are unmissable and will be introduced through cut scenes near the start of the game. You’ll meet Mosey once you leave the crash site at the beginning of Koboh, and you’ll encounter Turgle right outside of Pyloon’s Saloon.
Gameplay-wise, they don’t offer too much besides entertaining conversations. However, every once in a while, they will inform you of the location of a legendary enemy. While these enemies are considerably tougher variants, defeating them will grant you valuable upgrades.
ZN-A4 “Zee”

- First Available – During Chapter 2
- Rewards – Access to Datadisk exchange shop
Much like Mosey and Turgle, ZN-A4 (also known as Zee) is another one of the cantina recruits you find by just playing through the main story of Jedi: Survivor. You’ll encounter her early on when you discover a Jedi meditation chamber that launches the main plot.

After finishing that particular story mission, Zee can be found on the second level of the cantina, to the left of the aquarium. As a droid from the High Republic era, she possesses the ability to decrypt Datadisks you may discover on your travels. In return, you’ll have the opportunity to purchase an additional perk slot, exclusive perks, as well as BD-1 components and materials.
Ashe Javi and DD-EX

- First Available – During Chapter 2
- Rewards – Choice of music in the cantine
The next cantina recruits that you can find are Ashe Javi and his DJ robot, DD-EX. You can locate them in the middle of Harvest Ridge, just outside of the outpost. All you have to do is talk to them, and they will agree to set up shop in Pyloon’s Saloon.

When you return to the catina, you’ll be met with the sound of music. In the back of the bar, Ashe and DD-EX will be performing on stage. Speaking with DD-EX will bring up a list of all the available music tracks he can play. As you progress through the game and find more chests in the world or visit Doma’s shop, you’ll unlock additional tracks for DD-EX to add to his repertoire.
Toa

- First Available – During Chapter 2
- Rewards – Info on general location of Jedi Chambers
Toa is another one of the hard-to-miss cantina recruits in Jedi: Survivor. She’s a Twilek archaeologist with a keen interest in High Republic history. You’ll probably encounter her on your way to the Forest Array, where she’ll be situated in the Basalt Rift area, surrounded by adorable little boglings at her campsite.

Speaking with her will let you learn about a nearby Jedi Chamber and recruit her for the cantina. Once you return to Pyloon’s Saloon, you can find Toa and speak to her again to learn about the general location of more Jedi Chambers. Every time you progress to a new chapter in the main story, she’ll have more locations to share with you.
T-1N8

- First Available – During Chapter 2
- Rewards – Access to a chest & new Holotactics opponent
Our next recruit has a tragic backstory. T-1N8 can be found in Foothill Falls, off the beaten path. You’ll need to use the glider animals to get there. Next to where you found Skoova, a glider will take you across the canyon. Once you’ve crossed, defeat the raiders and jump down to the basement of a nearby shack where you’ll find a grim sight.

T-1N8 is holed up in the corner of the basement. Let her know that you’ve dealt with the raiders and that it’s safe to leave. She’ll then tell you that she’s heading back to the outpost to check on the house she used to live in.
Back in the outpost, you’ll find T-1N8 outside one of the houses. Talking to her will unlock the front door, allowing you to grab the chest inside. If you speak to her one last time, she’ll tell you that she’s leaving and that this will be the last time you see her… unless you play against her in Holotactics.
Caij

- First Available – During Chapter 3
- Rewards – Access to Bounty Pucks exchange shop
Like Toa, recruiting Caij is also easy. During Chapter 3, while on your way to the ruins of a High Republic settlement, you’ll be ambushed by a bounty hunter. Defeat him and a cutscene will play, introducing Caij, who will then task you with hunting down other bounty hunters.

While hunting down bounty hunters is purely optional, it’s worth noting that Caij has opened up shop back at the cantina. She’ll be selling blaster shot upgrades, blaster customization pieces, and BD-1 upgrades, all in exchange for the Bounty Pucks that drop from defeated bounty hunters. Additionally, speaking directly to her will reveal the location of the next bounty hunter, so happy hunting!
Bhima and Tulli

- First Available – During Chapter 3
- Rewards – Access to Holotactics mini-game
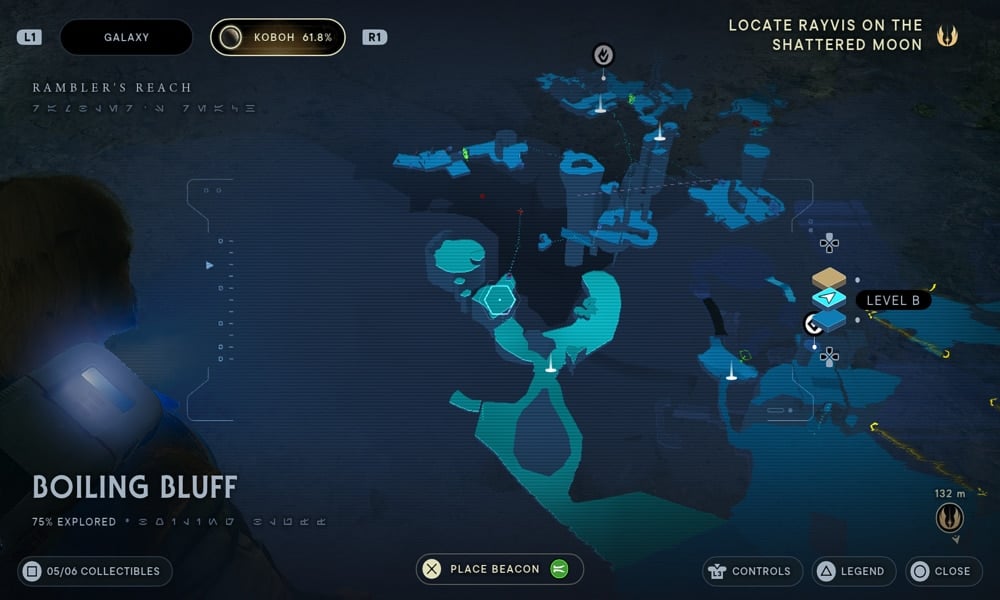
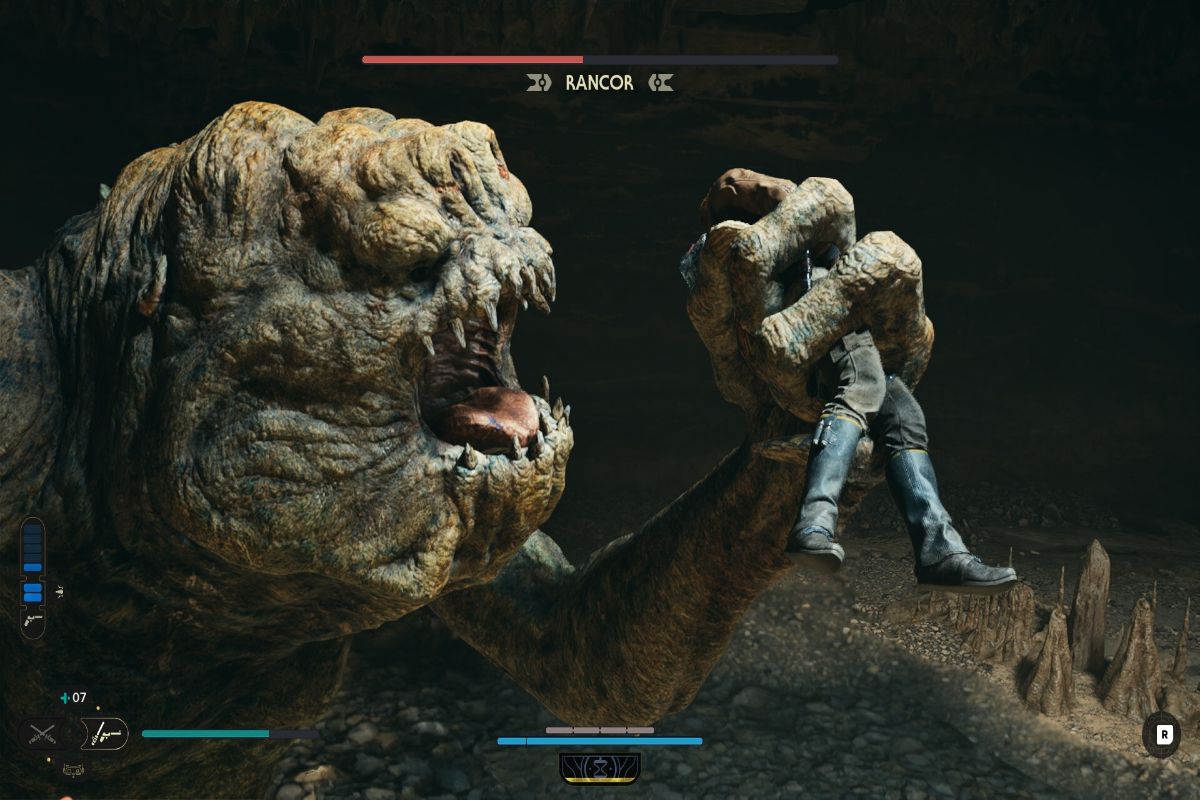
After completing the story mission at the Devastated Settlement, head to the opposite exit of the area. Follow the path to the meditation point located in Boiling Bluff and you’ll hear shouts for help. Rush towards the source of the commotion and you’ll discover two aliens under attack by a vicious beast. Eliminate the threat, and the grateful aliens will be eager to speak with you.

Having saved them, Bhima and Tulli will introduce themselves and inform you that they were gathering data for their game, Holotactics. After getting everything they need, they’ll agree to join the cantina. Once you’re back at the cantina, you’ll be able to find them on the second floor.

Recruiting Bhima and Tulli will unlock the Holotactics mini-game. Yes, this is the game that’s basically in every movie with the Millenium Falcon. The mini-game is effectively an auto-battler, where the units you can use are limited to what enemies you’ve scanned so far. Even if you’re not a fan of Holotactics, I recommend giving it a try as winning unlocks cosmetic items.
Pili Walde

- First Available – During Chapter 4
- Rewards – Expands your garden’s features
If you’re anything like me, you may not have realized that there was a garden atop the cantina until stumbling upon Pili. Initially, you’ll only have one plot available for planting seeds, but once you’ve recruited Pili, she’ll unlock additional plots and help your garden to thrive.
However, tracking down Pili may prove to be a bit challenging. She can be found beneath a puzzle hint in the Blustery Mesa, located on the Pilgrim’s Path in Jedha. Fortunately, the journey to reach her isn’t too demanding. You’ll need to begin at the Crypt of Uhrma meditation point, then head left towards the circular room and proceed through the shortcut.

Next, you’ll want to take the path to your right by using Force Push on the pillar, allowing the wind to carry you. Follow the path until you come across a burial crypt teeming with bugs. Ignore the lower area and continue upward. Use the wall to run and jump onto the hanging pillar, then jump and complete the series of wall runs. At the end of the wall runs, you can climb up to an alcove full of plants where Pili eagerly awaits your arrival.
Wini and Zygg

- First Available – During Chapter 4
- Rewards – None
Zygg and Wini are a couple of characters that can be easily found, but recruiting them requires access to the bog and the Force Lift ability. You can locate them at the very beginning of the Viscid Bog, residing in a decrepit hut.

When speaking with Zygg and Wini, they’ll divulge that their datapad was snatched by one of the creatures in the area. The good news is that the datapad is located right next to them, but the bad news is that it’s perched atop a pillar, necessitating the use of Force Lift to access it.
Once you’ve acquired the Force Lift ability, you can raise the platform in the mud and use it to jump over to the nearby pillar. At the top, you’ll discover the now damaged datapad. After retrieving it, descend the pillar and deliver the unfortunate news to Zygg and Wini. Following some conversation, they’ll agree to return with you to the cantina.
Pit Droid

- First Available – During Chapter 4
- Rewards – Access to a Force Echo
Remember the Pit Droid you encountered on your way to the outpost after crash landing on Koboh? Well, its boat (loader platform or whatever you want to call it) is stuck in the tar, and he refuses to depart until it’s freed. Unfortunately, you’ll require the Force Lift ability to assist this pint-sized droid, so return to this location after completing Chapter 4.

Once you’ve wrapped up Chapter 4 and remembered how to use Force Lift, head back to the Gorge Crash Site and navigate to the area specified on your map. Simply lift his boat out of the tar, then speak to him to recruit the little guy. Don’t forget to grab the upgrade on the boat before leaving!
Afterwards, you’ll find the Pit Droid hanging around your ship, ensuring it remains in pristine tip-top shape!
Skoova

- First Available – During Chapter 5
- Rewards – Expands your aquarium
The next cantina recruit you can obtain is Skoova, a master fisherman with a love for fishing and a sorrowful tale to share with anyone willing to listen. Throughout your journey, you’ll come across Skoova in various locations, often near water, searching for the next rare fish to catch.
Once you recruit Skoova, he’ll take care of the aquarium and fill it with the fish he catches. Every time you find him, he’ll catch a new fish for the cantina and continue his story with the next chapter.

Although you’re likely to come across him at some point, you can quickly locate him near Pyloon’s Saloon at the Foothill Falls. Follow the trail to the zipline, and you’ll find him sitting on his boat by the water’s edge. Speak to him several times, once to fish and twice to start his story. After that, you’ll encounter him at the cantina or his next fishing location.
Jawas

- First Available – During Chapter 5
- Rewards – Access to a Force Echo
For the final batch of cantina recruits in Jedi: Survivor, we have the Jawas. After completing the Forest Array, you may remember passing by the Bygone Settlement. However, you won’t be able to explore much of it without the Air Dash. As soon as you acquire the Air Dash, you can return to this location to recruit some Jawas.

To recruit them you’ll first have to reach them. Starting at the meditation point in the area, complete a sequence of jumping puzzles until you reach a group of raiders firing upon the Jawas’ sandcrawler. Defeat the droids and raiders, and the Jawas will agree to establish a business at the outpost. There’s also an upgrade orb in the back of their sandcrawler for you to acquire.

Back at the outpost, the Jawas will have settled into the abandoned homes. They’ve opened the gates and doors of these buildings, each with collectibles for you to discover. However, you’ll require BD-1’s shock dart upgrade to gain access to some of them.
Join the High Ground!
That wraps up our guide to all the cantina recruits in Jedi: Survivor and where to find them. Thanks for reading! Leave a comment if you have anything else to add and be sure to subscribe to our weekly newsletter for more gaming content.
And as always, take the High Ground!


You must sign in to comment.
Don't have an account? Sign up here!