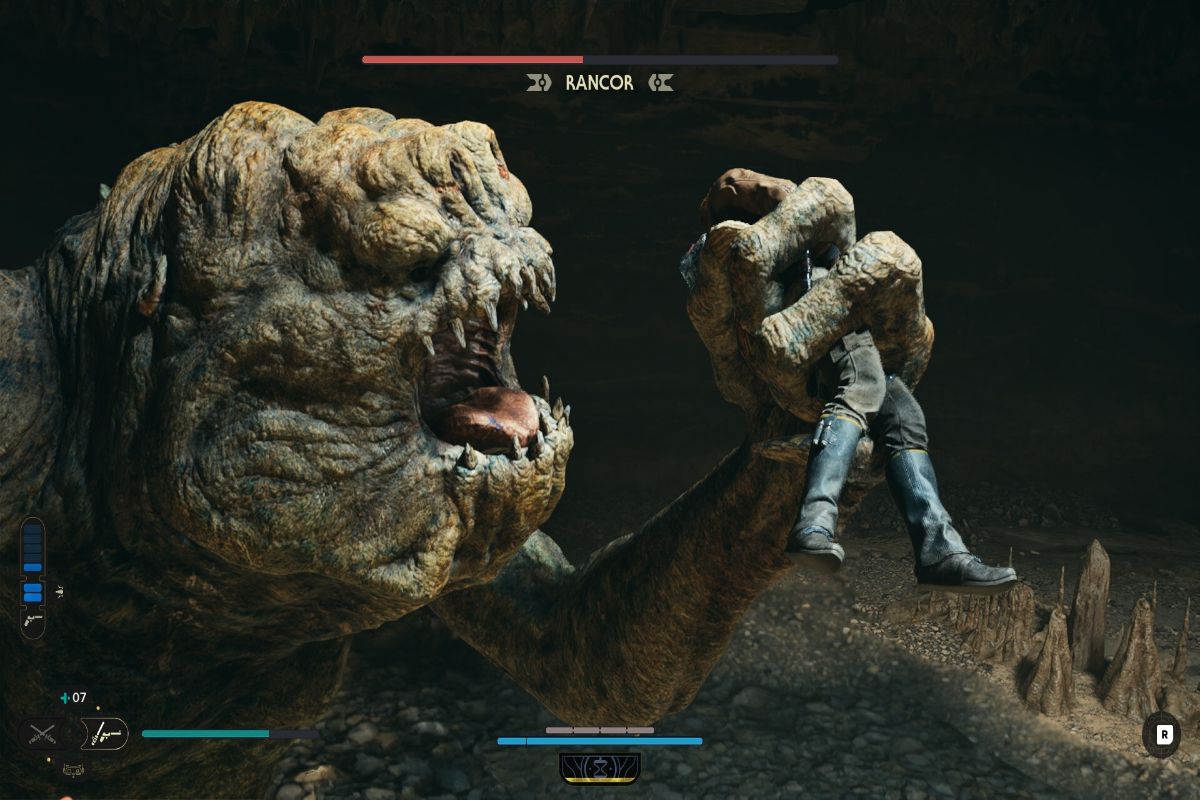
In the Star Wars galaxy, there’s no shortage of danger. Whether it’s imperial troopers, bounty hunters, or spice-smuggling pirates, it seems like there’s always something waiting for you around the corner. But out of all the threats in the galaxy, few are as dangerous as the rancor, and guess who shows up in Jedi: Survivor as a challenge?
First shown to audiences during Episode VI: Return of The Jedi, the rancor has since become once of the most iconic and memorable creatures in the series. It’s nigh unparalleled thirst for prey (and violence) always promises trouble for anyone who encounters it. Unfortunately for Cal, he can run into a rancor as an optional boss fight in Jedi: Survivor.
How to Beat the Rancor in Jedi: Survivor
While on Koboh, you can overhear a rumor about some missing prospectors. You’ll be prompted to explore a nearby cave, and you’ll soon discover a pit leading down to the rancor.
Luckily, there’s a Meditation Point nearby to save at in case you die… which you probably will. So here’s a guide on how to fight and beat the rancor in Jedi: Survivor.
Best Stance to Fight the Rancor

Before you jump into the arena to take on the rancor, you’ll first need to make sure you have the right lightsaber stance equipped.
The one that I recommend the most for the rancor fight is the Blaster Stance. This stance is by far the best one for dealing damage and avoiding instant death from the heavy-hitting blows of the rancor. You’ll be able to deal a fair bit of damage from a distance, only needing to get up and close whenever you run out of ammo.
Unsurprisingly, you don’t really want to be in melee range given how aggressive the rancor is. If you haven’t unlocked the Blaster Stance yet, we suggest progressing through the main story until you reach Jedha. Once you finish a certain story moment, you’ll unlock the Blaster Stance and can come back to deal with the rancor.
Of course, you might want to first get some good upgrades for your Blaster Stance to maximize your chances of winning, Efficient Heat Transfer reduces the charge time of your special attack, allowing you to use it quicker and more often. Improved Clip is also very good, as it flat out increase the ammo you have. In practice, you can fire off two additional heavy shots with it before running dry.
Strategy Against the Rancor

Now for the actual details of the rancor boss fight. Once you jump into the pit where the rancor is, it will start attacking immediately.
You’ll want to lock onto him and keep your distance away from him as often as you can. With your Blaster Stance out, press and hold the special attack button to charge up a shot. Release the button to fire it at the rancor. Keep doing this until you run out of ammo.
Once you do, you are going to need to replenish your ammo by attacking the rancor with the Blaster Stance still equipped. Now it’s time to get up close and personal.
Look around the pit for bones laying around on the floor. You can Force Push these at the rancor to cause them to become lodged in its mouth. After you do that, you can safely attack it for a short period of time to deal damage and replenish your ammo. If your ammo isn’t fully replenished, you’ll have to keep dodging its attacks and weaving in strikes from your lightsaber whenever possible.
The Rancor’s Attack Pattern

The rancor’s main form of attack is swiping at you. These are pretty easy to parry with practice, but you can also dodge out of the way if need be. From our experience, it will only swing at you twice when doing this attack. After you’ve dodged or parried both attacks, start swinging back.
Occasionally, the rancor will mix up its attack pattern by doing an overhead swing to try and slam you, but you can also parry this. The creature will also do a stomping attack that sends shockwaves out. You’ll want to jump away from the creature or be in the air when the waves come out.
It’s final and most dangerous ability is its unblockable charge attack. You’ll know the rancor is using this attack when it turns red and looks like it’s about to rush you. Once it does, dodge to the left or right. After it misses, it will be vulnerable in this state, and you can safely start attacking it for some damage.
Beyond that, there’s nothing else to the rancor. Just continue to use the strategy we outlined above, and you’ll find your charged-up blaster shots steadily chewing away at the rancor’s health. Rinse and repeat till the creature is dead.
Join the High Ground!
We hope that our Jedi: Survivor guide to the rancor boss fight made it a lot easier for you! Were you finally able to beat it?
If you have any questions for us, feel free to leave them down in the comments. And after that, make sure to subscribe to our weekly newsletter for more regular content on all your favorite games.
Happy gaming!


You must sign in to comment.
Don't have an account? Sign up here!