One of the coolest new features of Jedi Survivor is the ability to choose which two lightsaber stances you wish you take into battle. We did have the choice between using either a single-blade or a double-blade in the previous game, but now we have up to five different stances that we can choose from!
But out of these five choices, which ones are the best? Which ones are good for what situations? And what is the best one for your play style? We will be answering all these questions and more in this guide covering the best lightsaber stance combinations in Star Wars: Jedi Survivor!
Best Lightsaber Stances, Ranked From Good to Best
So with that introduction out of the way, let’s jump right into the guide!
#5 Single-Bladed + Double-Blade/Saberstaff (Good Versatility)

Single-blade is the classic stance of lightsaber users. It sees them welding a single, powerful blade. The stats for a single-bladed lightsaber are balanced, with no clear benefits or downsides in any area. Because of this, it makes for a good jack-of-all-trades play style. Additionally, the single-bladed lightsaber is actually a really good saber for playing offensively, once you have the right skills (such as dash strike, which is great for quickly lunging at a target to deal high damage).
The double-blade is also available at the start of the game. This is a great stance for defending yourself against enemies as you can parry bursts of lightsaber bolts from heavy troopers with it. It is also very good for crowd control, meaning that if you ever run into a huge group of enemies you take them out more easily. Endless Hurricane is a great skill you can unlock, and you can use it to very quickly deal lots of damage to multiple targets.
If you are looking for something that will get you through just about any encounter, then this may be the play style for you. You can use the single-blade for boss fights and when dealing with individual enemies, but switch to the double-blade once you encounter big groups of enemies. The saber throw for the double-bladed lightsaber is really good, giving you some added range. It’s not as useful as the blaster stance, but it’s still great to have for getting far away enemies.
#4 Crossguard + Double-Blade/Saberstaff (Good Synergy Between Stances)

Crossguard is in my opinion one of the most interesting stances on this list. A crossguard lightsaber is very similar to that of a single-blade, except that it has two very small blades coming out of the base of the main blade, making it look like a medieval sword. In gameplay, swinging with the crossguard stance is slow and takes good timing to get right. But when you land a hit, it does much more damage than normal lightsaber attacks.
Aside from its great range and defensive capabilities, the Double-Bladed lightsaber is great for crowd control, and there are many great skills that center around that. One of the best skills available for the double-bladed lightsaber is the skill Repulsing Burst. With this skill, you can jump up into the air before striking down to deal huge area of effect damage to any enemies unfortunate enough to be in your way.
These two stances work great together because they make up for each other’s weaknesses. The crossguard is great for offensive play and for attacking single targets. But it has short range and isn’t good for defense. The double-blade has long range and is great for defense, and it is great for crowd control. You can go around swinging the crossguard for single targets and very small groups of enemies, and then pull out the double-blade and use Repulsing Burst to quickly kill groups.
#3 Duel Wield + Double-Bladed/Saberstaff (Best For a Defensive Play Style)

Duel-Wielding is one of the coolest lightsaber stances in Star Wars lore, as it is often used very aggressively in fights. However, it is also a really great lightsaber stance for a DEFENSIVE play style as well. This is many due to its ability to more easily parry incoming melee attacks from enemies. There are plenty of melee-based enemies in Jedi: Survivor, so having a lightsaber stance suited for these types of encounters is very easy.
Additionally. the double-bladed stance is by far one of the best defensive stances in the game. Its move set is based around keeping big groups of enemies off your back and ensuring you are well-protected at all times. It’s great for killing groups of enemies thanks to its wide-sweeping attacks. Also, if a heavy gunner is firing at you, you can quickly block all of their incoming shots. This will very quickly make work of them.
When you combine both of these stances together, you will have a toolkit that is great for keeping yourself alive in just about any situation. You can use the duel-wielding stance to quickly fight off any melee users, and then switch to the double-blade if you encounter any big groups of enemies or heavy troopers. This is a good combination of stances if you are finding the game too difficult.
#2 Crossguard + Duel Wield (Great For Offensive Play-style & Boss Fights)

With the crossguard stance, you can deal lots of damage to enemies. This particular stance is really great both for bosses and regular enemies alike. The stance can sometimes knock enemies over, and it is great for reducing the stamina bar of enemies, allowing you to break through blocks much easier. The downsides of this stance is that its range isn’t that great, and you have to really time your attacks right due to the slow swing speed.
If you are using the duel wield stance, you can much more easily parry, which is great for getting some follow-up attacks on enemies. Additionally, there are some really great skills that you can get to boost your offensive capabilities. There’s Twin Vipers, for example, which allows you to throw two of your lightsabers at once instead of just one. This lets you hit multiple targets at a time with your lightsaber throw.
This is a great combo for offensive play. You can use the crossguard to hit heavy, high-health targets to break their poise and easily take them down. And the duel wield is great for rapidly killing low-health targets, like the B1 droids. Additionally, when it comes to boss fights, you can use the duel wield to wear down an enemy’s stamina bar, and then quickly switch to the crossguard stance to follow up with some heavy-duty attacks!
#1 Blaster Stance + Duel Wield (Great For Harder Difficulties + Boss Fights)

Blaster Stance + Duel Wield is our pick for the best stance pairing in Jedi Survivor. This is the lightsaber combinations that I’ve been using for most of my play through. The primary stance you’ll be using is the Blaster Stance, with the Duel Wield stance for your second pick. Blaster Stance is really great for safely taking out dangerous targets from a distance, as you can charge up your shots to deal damage. This is great for high-health enemies that really pack a punch.
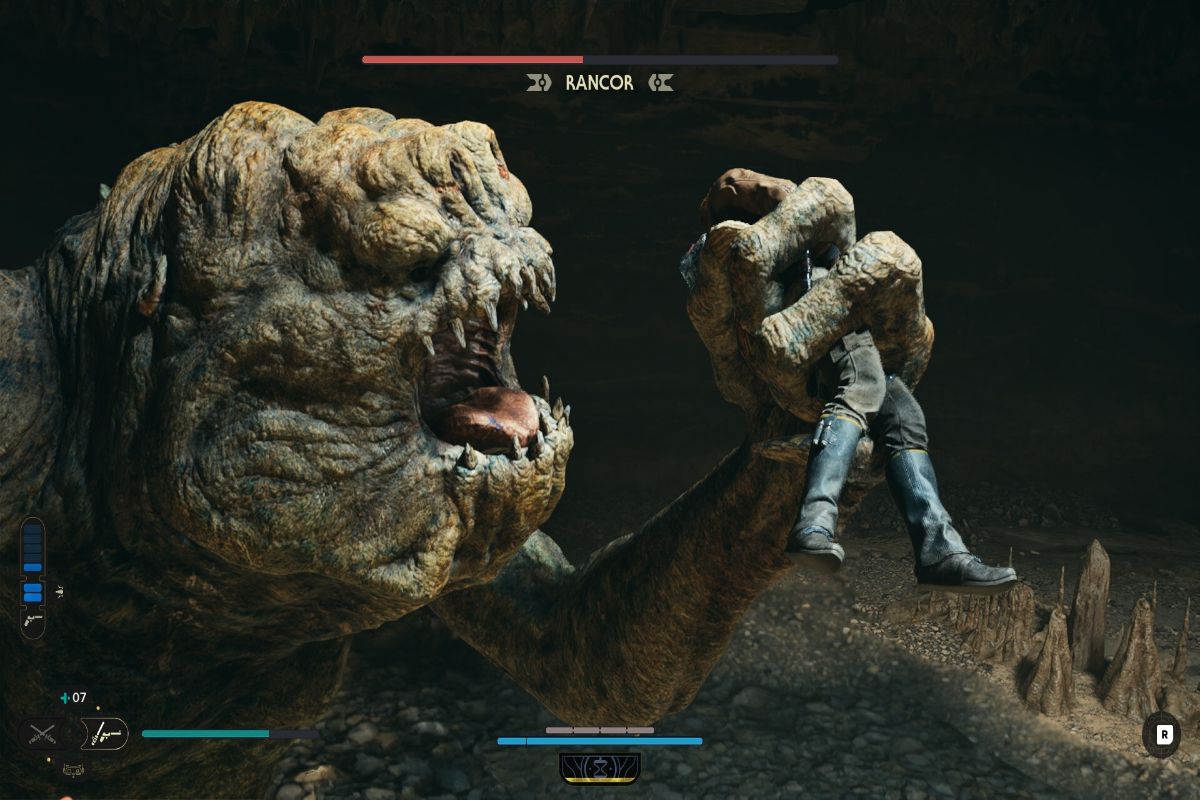
I’ve used this stance to help me beat several bosses in the game, such as the Rancor boss fight and even the final boss of the game. Shooting at your targets minimizes your risk of getting hurt. However, for some bosses in the game, it is better to use the Duel Wield stance, such as in the fight with Rayvis on the Broken Moon. This is mainly because you can use a power that will allow you to auto-parry any attacks from your enemy, which is very strong if you get the timing of it down.
So overall, this combination of stances is really great for helping you defeat many of the game’s bosses. If you find yourself struggling with a certain boss in the game, consider using either one or both of these stances for a better chance. Outside of boss fights, this combo is still very great for taking down enemies. The Blaster Stance is good for safely dealing damage to enemies such as the Imperial series DT Sentry Droids.
Join the High Ground
We hope that you found this guide ranking the best lightsaber stance pairings in Star Wars: Jedi Survivor helpful! What are your thoughts on this list? Do you have any combinations of your own you recommend? Let us know! And make sure to subscribe to our weekly newsletter for more content.
Happy gaming!


You must sign in to comment.
Don't have an account? Sign up here!